Classic Italian Home-Made Bread with Brewer Yeast Easy Recipe
- Luca Bellavita
- Feb 21, 2021
- 3 min read

Updated: Jul 21, 2024
However, homemade brewer yeast bread is usually the fastest way to get a tasty loaf of homemade Bread because of the shorter raising time (usually 2/3 hours); in this case, I went for a more protracted process with 12 hours of raising in a refrigerator to improve digestibility.

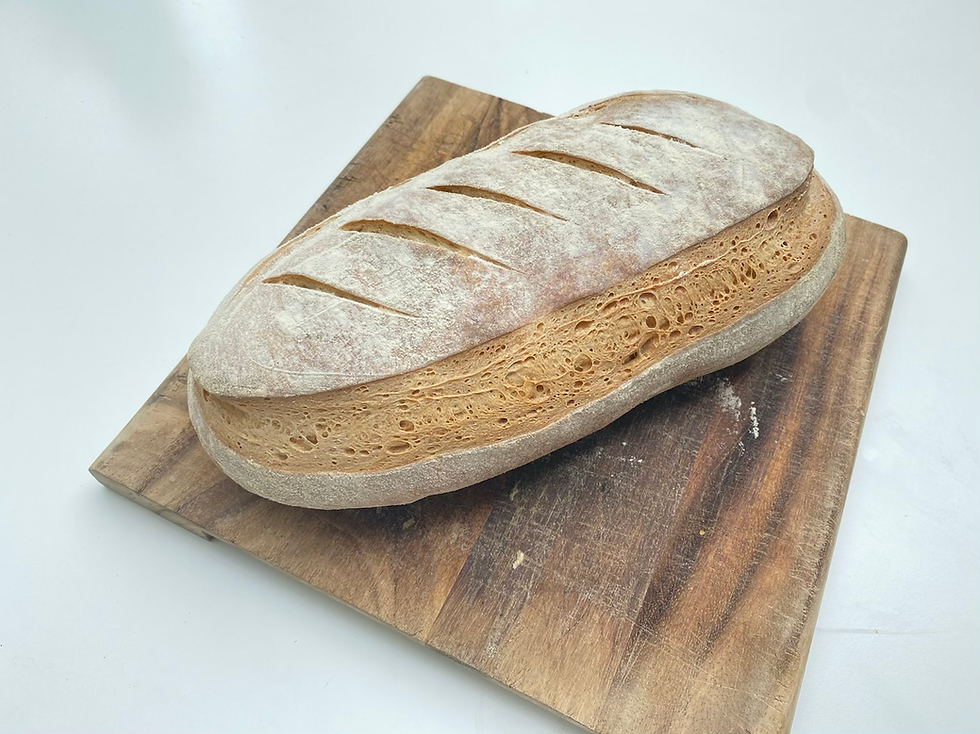
This was one of the first breads I posted; I was still learning (I still am) about the importance of closing the dough and scoring the top of the bread as you can see from the very odd shape :)
Given the relatively long waiting period, I will tell you more or less about my timeline for preparing Ale yeast bread for brunch.
I started the bread dough at 6:00 p.m.
I went to the refrigerator at around 7:30 p.m.
I pulled the dough out of the fridge at 7:30 a.m.
I made the very first folding at 8:00.
The second time at 8:30
The third fold is at 9:00 a.m., and the loaf is shaped.
I switched to a floured baking tray at 11:00 and shaped a loaf. It's essential not to have flatbread. Softly spread out the dough and prick the dough with your hands.
I baked at 11:10 after preheating the static oven to 240 °C.
I brought it out of the oven at 12:30 and let it cool off.
Homemade Bread Using Brewer's Yeast Recipe
Ingredients
400 g Very Strong White Flour (or Manitoba flour)
300 g Cold Water is better than bottled water
8 g fresh brewer's yeast (or 4g dehydrated)
One teaspoon of salt optional
½ teaspoon of sugar
17 g of Extra virgin Olive Oil to be added at the end (you can do the same recipe without if you like)
Instructions
Place cold water in the "mixer bowl" and add the sugar, dissolve the yeast and leave it there until you see a tick foam rising from the mixture.
Mix with a low-speed hook while adding the flour, but not all in one go.
Add the salt and keep mixing until the dough gets elastic.

Boost the mixer's speed and add the olive oil (if you decide to use it) until it's absorbed completely.
Move the dough to a tight, lightly greased bowl. Allow the dough to rest at room temperature for 60 minutes, coated with film.
Transit to the fridge at 5 °C for 12 hours.
After this time, the dough must rise in volume to reveal the bubbles leavening.
Pull the dough out of the refrigerator and let it accustom to room temperature for 30 minutes. Then, gently move to a finely floured board. Shape a rectangle and attempt to deflate it as low as practicable.
Do the three folds three times, and then let it rest between one fold and the other for 30 minutes.
After the last fold, form the loaf by attempting to cover the rectangular edges under the loaf.
Place the dough ball to grow at room temperature for at least 2 hours, sealed with cling film. I'm going to leave it on the wooden plank where I blend.
After some time has passed, gently cut the dough and carefully turn the loaf over into a properly floured baking dish, leaving the closing portion upward. This small trick gives the Bread a more picturesque and sweet feel.
At this level, the dough is going to stretch slightly. Give the outline of the loaf, attempting to grab the dough softly.
Preheat the baking oven and put a water bowl on the bottom of the range.
Bake at 240 °C for 20 minutes and at 220 °C for another 20 minutes.
It is best to remove the water bowl after 40 minutes and continue cooking in a convection oven for another 10 minutes with the door partially open.
Please switch off the oven and allow the Bread to cool from inside, still with the door moderately open; else, remove it from the oven and let it cool down on the rack.


Comments