Chrispy Sourdough Bread with 68% Hydration: the Perfect Recipe
- Luca Bellavita
- Apr 9, 2021
- 5 min read

Updated: Sep 17, 2024
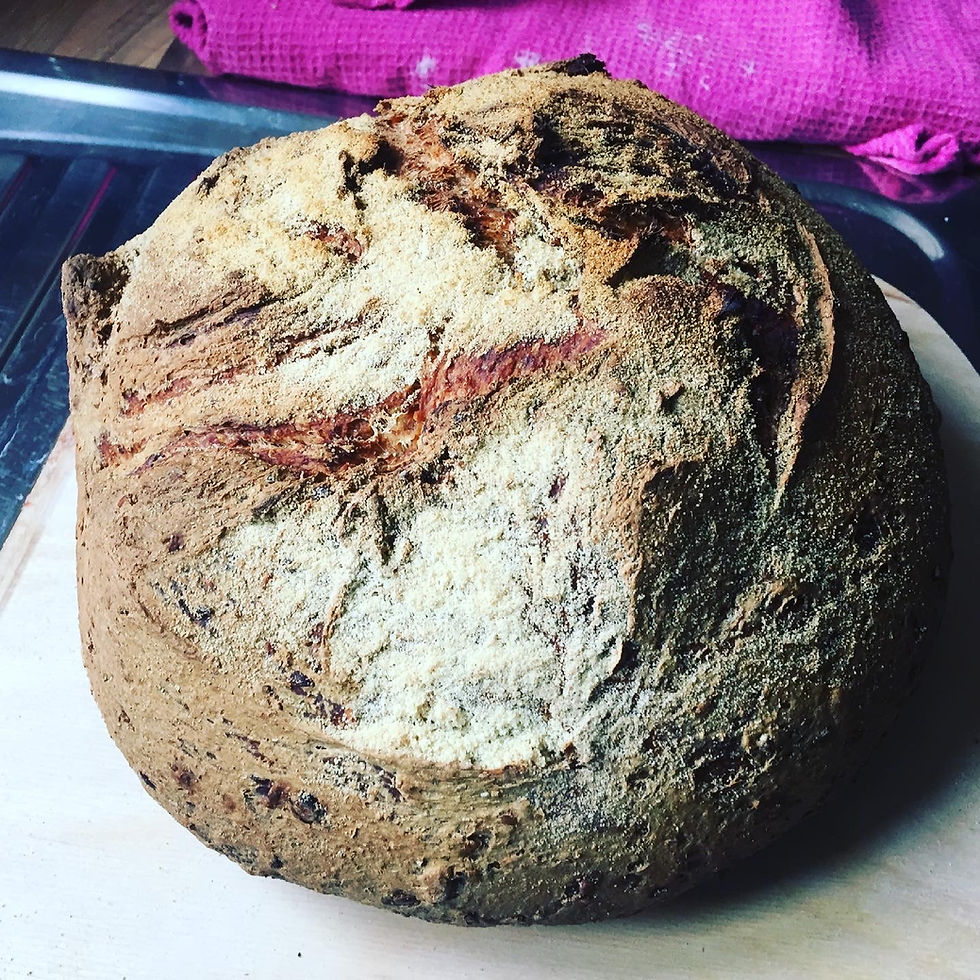
After the Licoli bread, I tried this high-hydration Sourdough Bread with 68% Hydration and long rising time, which gave me large and visible honeycomb.
So, the hydration level of bread is measured in percentages. It is the ratio of how much water the dough contains to the flour present in it. Usually, sourdough bread tends to have hydration levels from 65% to 100%, depending on what type of flour is used to make the dough. Well, I decided not to go extreme and made one with 68% hydration.
For the method, follow the recipe below. It seems complex and time-consuming, but you need to be there to make the creases at the perfect time, but there is little effort.

Ingredients for this Sourdough Bread - 68% Hydration
350g of 00 flour containing 12 per cent of protein w220
50g of type 1 flour containing 13 per cent of protein w380
272 grams of water
70g of lycoles refreshed and increased by 50 percent.
8 grams of salt
Fine re-milled Durum wheat semolina (for sprinkling on a work surface)
Method to make this Sourdough Bread - 68% Hydration
Around 2:00 to 3:00 p.m.
Transfer the flour and all the water to the mixer. Start the machine at medium-low speed and let it run for 3 or 4 minutes.
The flour must be thoroughly moistened (hydrated), and the dough must be homogeneous. Cover the blender's bowl with a piece of fabric and leave it in autolysis for around 2 hours, or the time required for the licoli to grow by 50%.
The Sourdough Bread dough can be easily handled because the hydration level is just 68%.
What are autolysis and its advantages?
Autolysis is a procedure that can last from a minimum of 20 minutes to a maximum of 24 hours. During this period, the gluten in the flour is transformed by the action of the amylase and protease enzymes activated by the dough's water.
Thanks to the amylase enzymes, the flour's starch is converted into sugars; thus, this transformation makes the sugars simpler to absorb for the yeast and, therefore, facilitates the resulting fermentation. This gives the finished product organoleptic advantages, making it delicious, flavorful, and fragrant.
On the other hand, the protease enzymes break down the proteins into smaller parts; thus, the protein chains have been extended to make the dough more extensible and workable.
But the benefits of autolysis do not end here. This process helps the dough absorb more water, increases the finished product's shelf life, promotes better dough development, and reduces processing and stringing times, making the dough smoother and silkier.
Finally, autolysis makes final moulding easier and allows more significant growth in the product's baking volume, a softer crumb, and a better and more developed honeycomb texture.
Strengthening and refreshment of Licoli
After mixing flour and water and kneading, cool the licoli in a ratio of 1:1:1. (e.g., 100g of flour, 100g of water, and 100g of yeast).
Band the licoli with the mixer's leaf and drop it in a container with straight and not twisted sides. Mark how far it rises with a rubber band or CD marker. Measure the height of the licoli with a ruler and divide the obtained measurement by two. Then mark a second spot beginning from the previous spot with a value that has just been determined. For example, if the height of the licoli is 5cm, mark the second spot at 2.5cm from the previous spot, then at 7.5cm from the base.
This will help you verify with certainty that the licoli has risen by 50%. When it reaches the second marked level, take the 70g you need and pour it on the autolytic dough. Knead and take almost to stringing, then apply the salt and the string properly. The dough must be non-sticky, smooth, and very elastic.
Do the veil test. Take a piece of dough and roll it between two fingers. If it is well-strung, you should be able to gently spread it into a thin veil without breaking it.
Leavening and folds of Sourdough Bread dough
Place a ball of Sourdough Bread dough in a small jar flattening it to mark how high it reaches.
This will be your spy to understand if the dough grows and how much.
Since you have to make several folds during the leavening, it will be difficult to verify the actual growth unless you have a lot of experience and know-how to understand the dough under your hands.
To the remaining dough, make a round of folds in 3 or pockets by pulling a flap of dough and bringing it towards the centre, then pulling the opposite side and overlapping it; then repeat the same procedure after turning the dough 90 degrees.
Turn the Sourdough Bread dough over at this stage and round it.
Put in a well-oiled container, put the lid back and let it rise at 27-28 degrees for 45 minutes.
After 45 minutes, do what is called lamination. Pour the mixture onto a slightly wet work surface. Roll out the dough by spreading it by hand until it forms a thin square. Watch the video HERE. Then, make a round of wallet folds and round the dough.
Put it back in the container, close it with the lid, and wait another 45 minutes.
After these 45 minutes, get your hands wet and do the first round of coil folding directly into the container; I bought this one as you can stick one on top of the other if you do multiple doughs at once.
Close with the lid and leave to rise for 1 hour, then start a new round of coil folding after 1 hour (it will be 2 1/2 hours at this point).
Close the lid again, let it rise for another hour, fold the third round of the coil, and let it rise for 30 minutes. During this time, you make the creases and monitor the indicator to see if the dough rises.
After the last 30 minutes (so when 4 hours have passed since you placed the dough in the container initially), if you verify that the indicator has risen by at least 50 per cent, you will continue to make the bread; otherwise, let it rise for a few minutes.
Sprinkle the work surface with a little re-milled durum wheat semolina or white flour and gently turn the dough over on the surface, helping it with your hands so it does not deflate and come down quickly.
Formation and Maturation of the Sourdough Bread in the fridge
The raising baskets
Form the bread into a ball and transfer it to the raising basket, shaping it to fit the basket shape, then cover it with a kitchen cloth and put it in the fridge at 4 °, on the lowest shelf, or in the vegetable drawer. Let the sourdough bread ripen in the refrigerator until the next day for 12 hours.
The following day, after 12h since you put the bread with licoli in the fridge, bring the oven to 180 ° in static mode; when the temperature is reached, take the sourdough bread out of the refrigerator and place it on an anti-adherent tray by gently turning the proofing basket upside down.
With a very sharp scalpel or a razor blade, make a deep incision a couple of centimetres deep, slightly to the right of the central part of the bread, describing a convex curve from top to bottom.
At this point, put the tray in the oven for 50 minutes; after this time, remove the sourdough bread from the oven and let it cool completely on a wire rack, keeping it upright if possible. It is recommended that you bring the wire rack to the wall so that the bread can rest on it and remain upright.
Soft and flavorful homemade Sourdough Bread is ready!

Comments